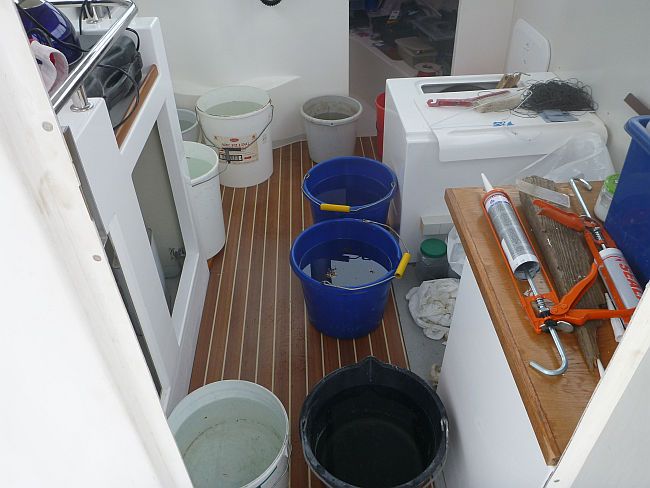
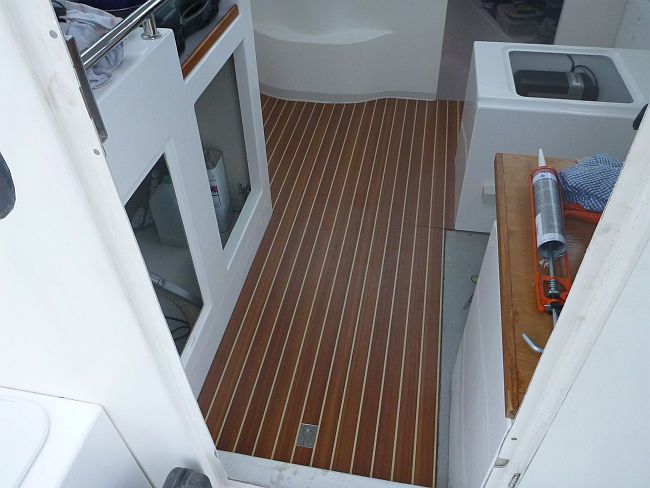
Next morning I was back to see how it had come out. Brilliant! And you have to look very close to see the join. The hatch is more noticeable but it is, after all, a hatch. I carefully cut out a shape for the flush pull thingy, that was a job but worth it.
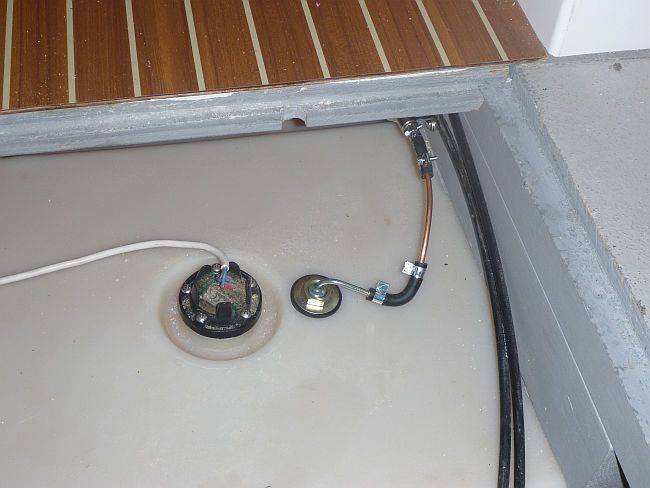
The next brave thing was drilling a hole in the fuel tank for the Webasco heater fuel pipe. After staring at it for a long time I took a deep breath and started. I was worried I would drop loads of plastic shavings into the fuel, so I took out the fuel gauge sender and made a sort of cranked tongue out of ally strip, coated it in Vaseline and positioned it so it would stay under the drill hole as I cut through. That worked a treat, the tongue came out all covered in white bits which didn't end up in the fuel. The fuel pipe was trimmed and threaded up through the new hole. It was nearly a disaster because the tank wall is so thick there was hardly any thread showing but I got the nut started eventually and it threaded on fine.
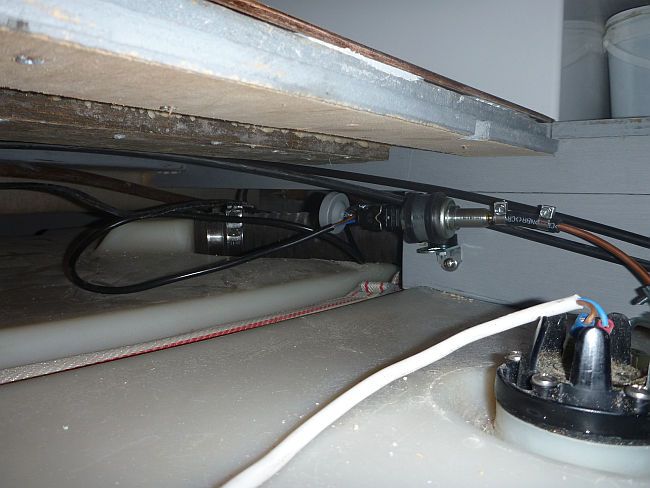
Working back, I fitted the fuel metering pump, the fuel pipe and cable. It was a struggle because that gap is only a few inches!
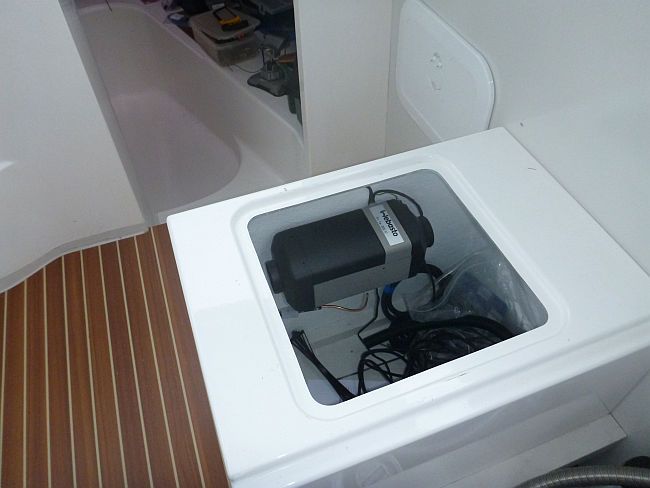
The main heater unit is fitted, but I am missing one bit of flexi pipe so I couldn't connect it all. The power cable is routed to the main electrics board but I have run out of space for more fuses, I'll have to get creative. I am still trying to work out where all the bits connect, as it is not obvious, for example where does the fuel metering pump cable go to?
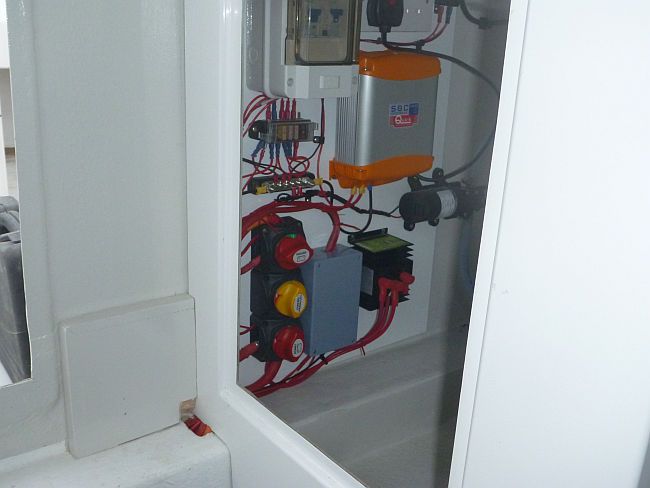
Finally, the wiring for the battery switches and alternator was completed by Scott so I used a Maplins box to keep the shunt secure. I decided to abandon the flexible water tank and have a custom one made. That will go under the locker floor up to the level of the switches. I am making loads of components in my workshop, all ready for painting and fitting, so it will all come together very suddenly (I hope!)
No comments:
Post a Comment