Sunday, 23 March 2014

More progress

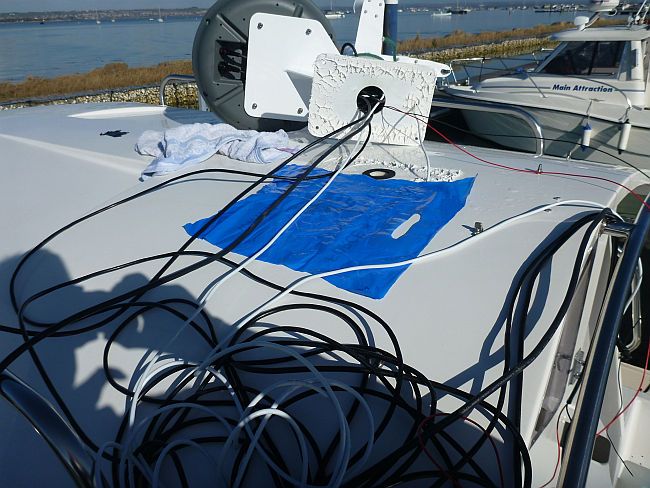
Another full-on day with some progress to report. The wiring is very nearly done, I connected up the ammeter shunt and routed the trim position sender wire to the stern. That sounds very simple but it involved a lot of panels being removed, threading cables, bending, grunting and cussing. I tidied the rat's nest of the console wires with a large handful of cable ties but looking at the photo now, it still looks like a jungle.


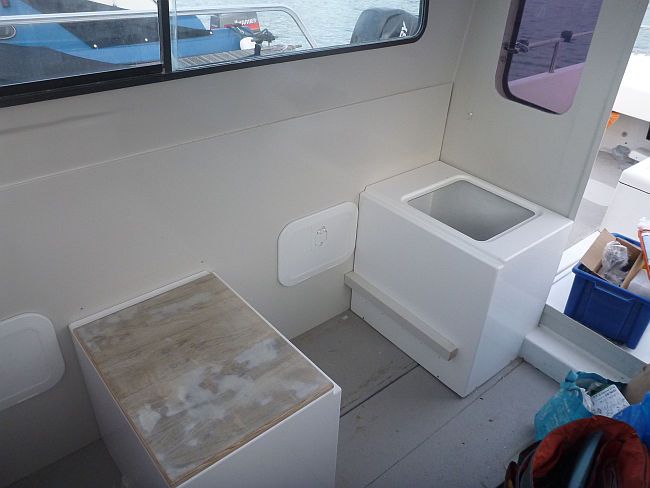
I finished the wiring under the galley with a switched relay ready for the fridge. This is where the shunt is, and this is all wired in. The box I bought from Maplins isn't big enough so I'll have to get another. Scott of One Degree West has installed the battery switches, split charge diode and re-routed the alternator wiring to suit.


I then installed the flexible water tank which will lie under the fridge and locker floor. However, while wriggling the connector into a hole for it in the tank wall the hole ripped. I tried a heat weld with a soldering iron and a generous dose of Sikaflex and hope that works. If not, I won't be buying another flexible tank, fitting the connectors is a bit dodgy.

The fridge will need fresh air so a vent hole was cut out and a vent cover installed.


 Last but one job was to fit the trim limit switch and two 12v power sockets. The other side of the bulkhead is packed with electrics so I couldn't mount them next to the wheel which was the obvious place. However, there were two holes on the old dash where switches had been, and the two sockets just covered the holes. One is 12v power, the other is twin USB sockets for an iPhone or iPad. The trim limit switch is tucked into the side of the raised dash, I'll have to make sure engineers know where it is because it isn't obvious.


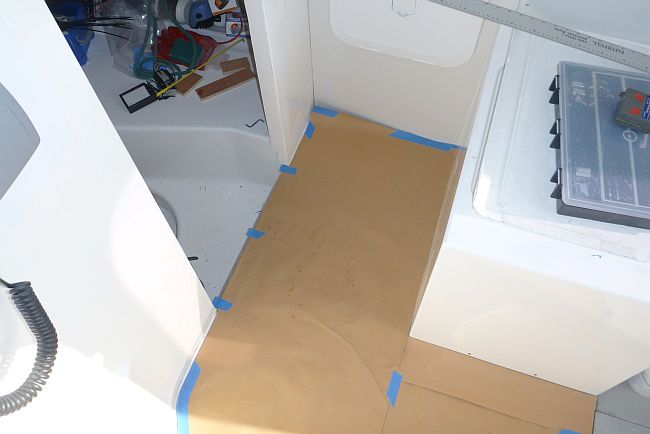
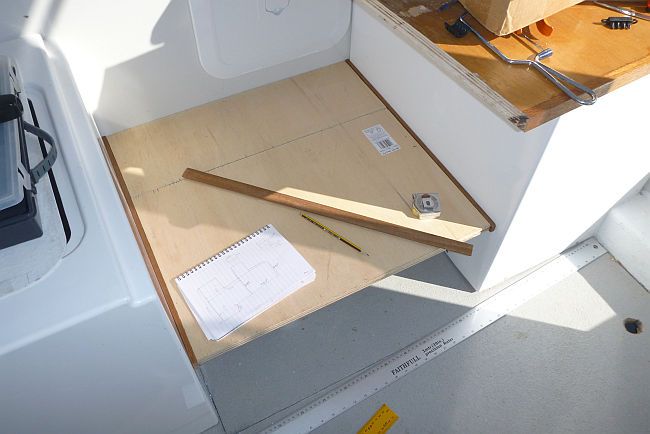
Finally, the moment I had been looking forward to - trial fitting the wheelhouse floor panels. These are cut from a large sheet, teak and holly effect but laminate faced for strength. The challenge is cutting as many panels as I need from that sheet, it is a bit tight hence the paper templates! One panel fitted fine, the other needed some surgery but an angle grinder with a flap wheel attachment made short work of it. The floor looks really good, it will look even better with a suspension pedestal and the KAB seat on it.


Tuesday, 18 March 2014

The wiring is hidden at last

We had Paddy's Day celebrations this weekend so no boat work, but I made up for it today with nine and a half hours in the marina. As usual, not all of it productive but much of it was. First job was to complete any wiring at roof level and that included the wiper motors which have been a real puzzle. I cured the parking problem by fitting two relays, but running the power from a single supply was causing fuses to blow on high speed wiping. On Scott's advice I decided to run two independent systems from fuses to switches to motors and bingo, all was fine. This was a job I started on 4th August and finished on 18th March, fortunately not all tasks are taking that long.

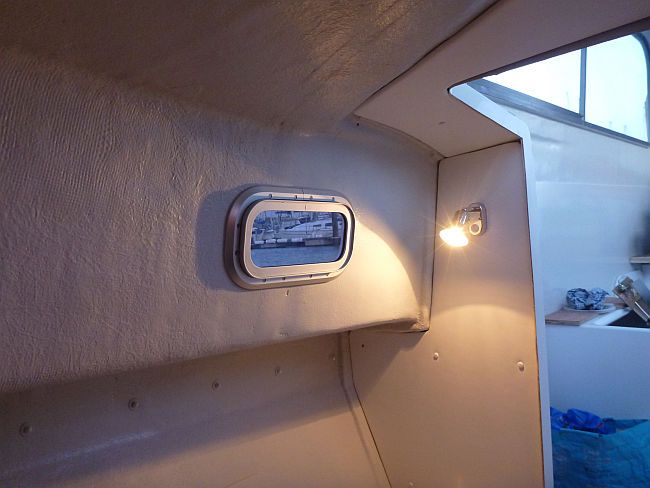
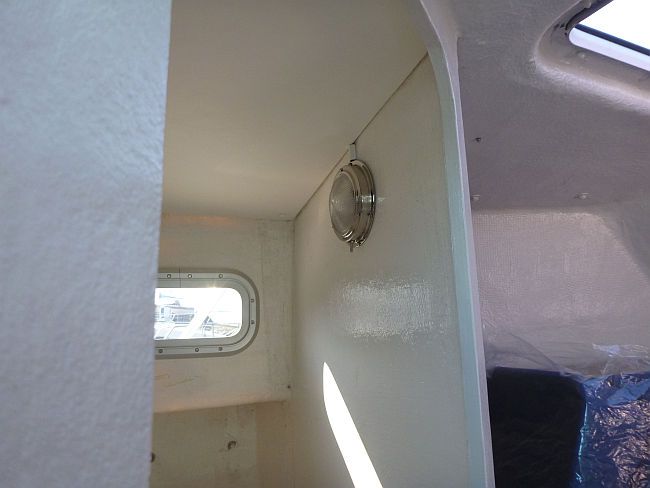
Next job was to fit the bulkhead liner and berth light. All went in fine.


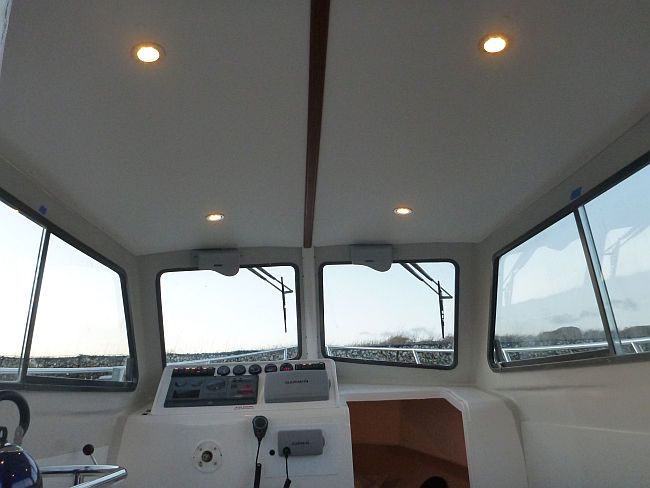
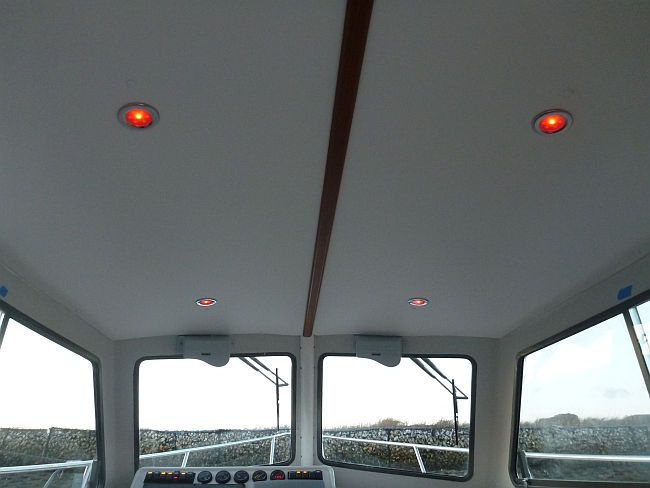
After a quick sandwich, it was time for the job I had been working towards all this time - fitting the roof lining. All the cables were routed down a large conduit, and I trial-fitted one side. It looked brilliant! I had to carefully measure where all the screws would go as they had to line up with a wooden pad. I was a bit concerned about having no mounting point in the centre so I decided to bond two pads of 12mm ply in the centre of the space. I only had one so I wandered about the marina looking for offcuts. Luckily, Andy Primmett (contact him for GRP repairs!!) was working there and found me a piece in his shed. Thank you Andy! The pads were quickly bonded on, then I had to go off and buy some extra long screws. Finally, all was ready. It all went up like a dream. I fitted four LED lights, with separate front and back switching.
 

 These lights have a neat trick - when you switch them on they have a single red LED for night vision, and by flicking the switch they come on full white.


 Final job was to remember to bring the paper template home!

Monday, 10 March 2014

Working in the sun?

A sunny Sunday. I could get used to this. Plenty of work to do outside the boat, however I had a quick task to complete first - stick that paper template together! (see previous post)
 
 
All done, pencil marks, extra tape. What could possibly go wrong? I'll tell you. I went and left it on the boat when I came home!! Anyway, other things done were fitting the replacement wiper motor, trimming the cockpit hatch and fitting hinges, and filling various holes in the gelcoat from things removed. I refitted the steering boss on a stronger piece of packing - difficult to do when the nuts are on one side of the bulkhead and the bolts on the other but I managed it with an elaborate system of wedges. The mast was still not quite perfectly sealed so it came off again (I am getting quite deft at that) and the offending gland given another dose of sealant. I then fitted a small section of the new headlining in the head (toilet). Looking rather smart, although you would only think so if you saw it first without.
 
 
Next step was to trial fit the various components of the false floor, which will have a lift-up hatch for storage below.


I then spent time measuring for the supports for the fridge, water tank and cupboard sections under the galley. Finally, I took a photo in the sunshine for the CG66 form. She is looking good.


Monday, 3 March 2014

Why Sellotape is important in boat-building

I stole a couple of hours in the boat on Friday night. Scott's lads have fitted a snazzy bank of battery switches so I have two independant controls and a switchover, plus a shunt for the ammeter. Next job was to fit the light in the head, which covers most of the wiring feed to the bunk light on the other side of the bulkhead. Neat! I had made a new marine network cable to try and make the old sonar talk to the plotter, and this time it did, so another gadget is working, great.

It contantly amazes me how long it takes to do not very much. If you subtract the time taken to decide what to do, select the tools you need, fit yourself into a confined space, un-fit yourself to go and get the tools you have carefully selected, look for the parts you could swear you put right there but they are not there, and so on, then actual time available to fit the thing you came to do is greatly reduced.

I had half an hour left so the final job was to make a brown paper template of the wheel-house floor so I could cut out the corresponding shape from a sheet of teak and holly decking laminate. I carefully marked and cut a template using several sheets of paper stuck together with tape, and it was all looking very positive. I rolled the template up and headed for home.

Next morning I enlisted help from my daughter to lay the flooring sheet out in the studio, and set down to mark out the shape of the floor from the template. I unrolled the template and....disaster. The frigging tape had come unstuck and I now had three pieces of paper, all perfectly cut, but no way of aligning them acurately so I could cut out the floor! And the boat is 22 miles away. So it will have to wait until next trip for the 90 second job of laying the papers back on the floor and sticking them together again only this time there will be some reference pencil marks, just in case!

Sunday, 23 February 2014

More Progress

Another good day in the boat today. Two frustrations, the VHF external speaker won't talk VHF - the speaker is fine and I know that because I connected it to my iPhone and blasted Asteroid Galaxy Tour all over the marina. Time for an email to Garmin. The black box sounder won't talk to the plotter but it did before, so I'll have to test the comms cable. However, that didn't keep me down for long. I had some brave things to do!

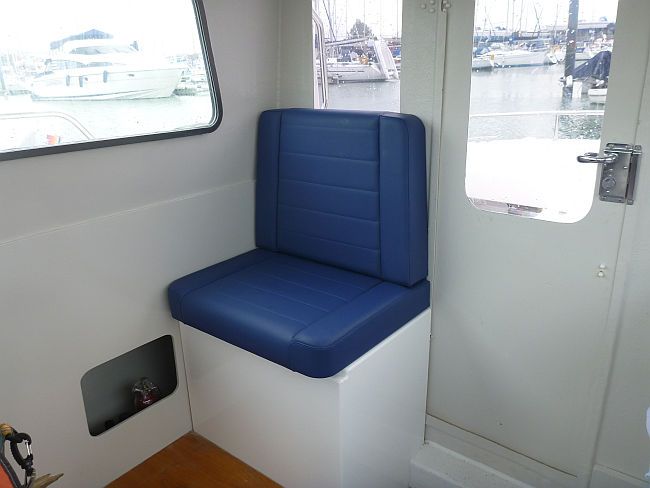
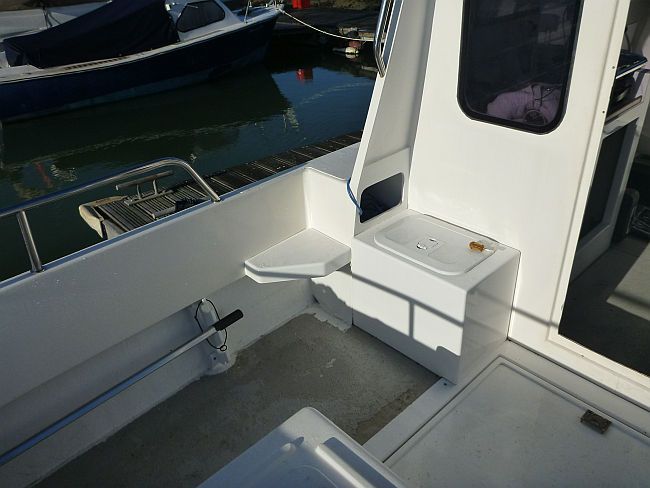
 First job was the remove Garry's seat box, turn it upside down and slice of 90mm. That all went to plan, and the Bosch plunge saw worked a treat. It made hardly any mess, and was very controllable. I trial fitted the seat box lid, and this is a heavy boy because it has to take the KAB seat and rotating base which weighs a lot.
 

 I also fitted the locker door. I wondered why the guy that did some of the fitting hadn't fitted it, having cut the hole. I found out why - he had cut the hole too close to the seat box. A quick wiz round with the jig saw and all was sorted.

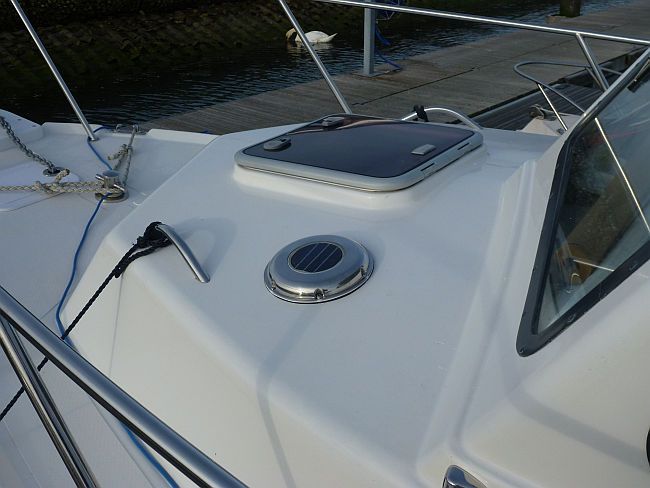
The next brave job was one I had been wimping about for weeks. I had to cut a large hole in the cabin roof to fit a solar powered vent. I was wimping because it not going to be a cut I could hide if I messed up, and I was also slightly worried it might look ugly but in fact it turned out to be very neat. The fan fired up even as I was fitting it and buzzed away extracting air as long as there was daylight. That should keep the cabin sweet.


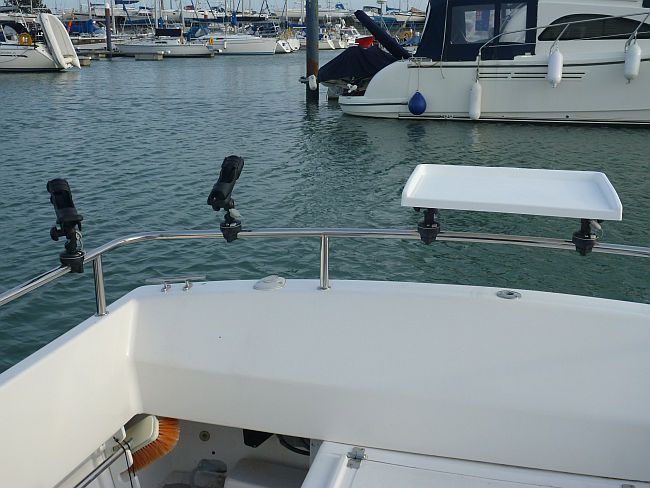
  Then, as we were blessed with no rain, I took time off and did the easy, if monotonous, job of fitting nine Railblaza Star Ports. These can be used to mount rod holders (4), bait table, or anything else you can buy a Star Port thingy for. I cunningly mounted the Star Ports in such a way that I have five different options for where I mount the bait table, and wherever I don't mount the bait table I can mount rod holders. They are well made, very strong and very versatile. I can't wait to test them though!


 Finally, I spent a long time with tape measure and brown paper making templates and measuring, so I can make various bits and pieces for the helm support, headlining, side lining, raised deck and floor.

Tuesday, 18 February 2014

A good long day

I had about eight good hours on the boat today. I took the new seat down to try for size, as I have to raise the footrest to suit the cushion when sitting down. I had a few test sittings, very comfy! I measured up to make an attachment bracket for the seat back and a stop to prevent to base sliding out.


The rest of the day was spent finishing off the wiring, so the nav lights, masthead light, deck flood light and one cabin light all work. LED lights all round and no intereference on the VHF with is a relief. Wires are laid to the wheelhouse liner light positions, and the teak rail to hold the headlining is in place. The transducer is installed in its bath of antifreeze, and the cable routed back to the black box. A small piece of headlining is in place behind the cabin door. I used Screwfix micro D conduit to run some wires from behind the galley up to the roof line, only a couple of quid and really neat. I also fitted an external waterproof speaker so I can hear the VHF when I am fishing. The VHF doesn't seem to have a switch to control an external speaker so I switched the live feed to the speaker. However that didn't work so I'll have to do a bit more investigating before I seal it all up behind the headlining.

Finally, a massive vote of praise to Vetus after-sales service. I emailed them about my second wiper motor which is shorting and generally misbehaving, and within hours they emailed back to say they were sending another in the post and would I post the old one to them some time. The new one arrived next day. Fantastic service, not a hint of a quibble!

Sunday, 16 February 2014

A whole sunny day!

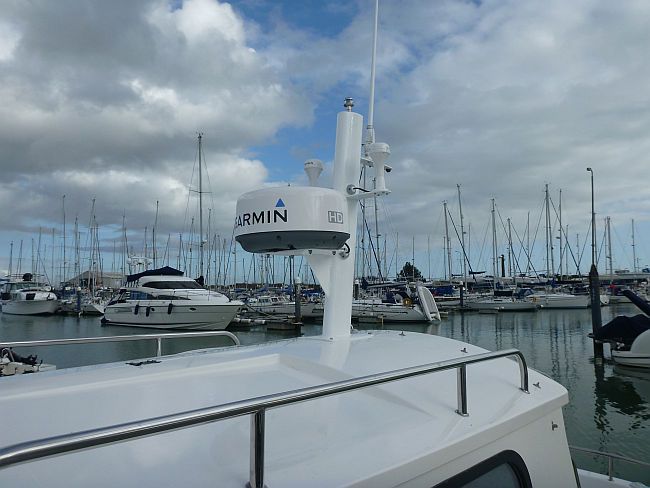
A whole day with no wind or rain! At last I could work on outside jobs, including Garry's steps ;)  First I had to cure that leaking mast, and I decided to fit a gland between the mast and deck as well as trying to find the original leaks. Belt and braces, but at least I wouldn't be worrying about it. So the mast had to come down. That meant undoing all the wiring I had neatly routed and connected, so I could feed it through the gland.


At least this time it was pleasant on the roof, and I could chat with passing boaties. Finally it was done, all the cables back in place, and it looked just like it did before. Not really very satisfying!


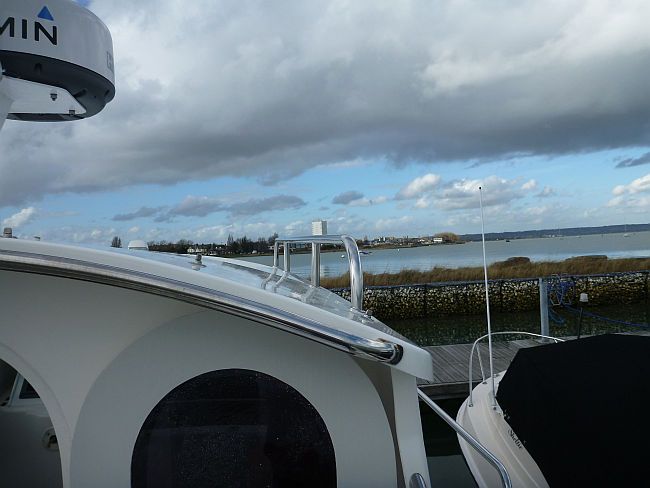
Next job was the handrails. This was another annoying job, because whoever fitted the rails had not cut the projecting threads which were sticking into the wheelhouse and preventing me fitting the headlining. I wrecked a plunge saw in about 30 seconds, note to others - "cuts metal" does not apply to stainless bolts. So they both had to come off. Actually it was a lot easier than expected, and an hour later they were back on - exactly as they looked before.


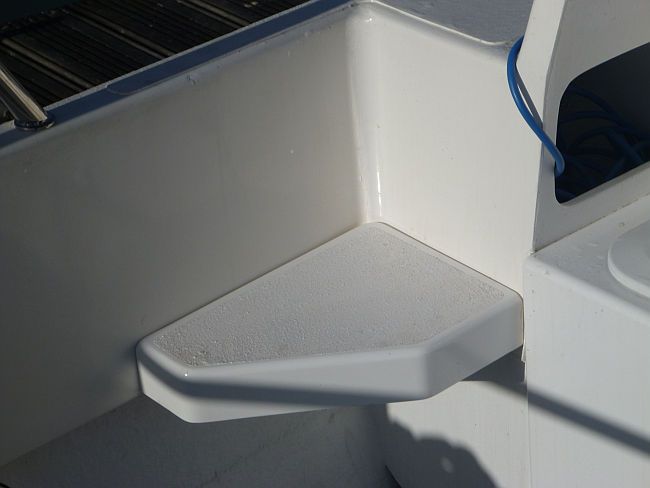
By now I was desperate to spend hours on something that actually looked different afterwards, so I fitted Garry's steps. They look blooming good and are a delight to step on, no more swinging in off the top rail like a monkey and there is a fair chance I will not fall in the boat like I once fell out of it (in the farmyard fortunately). Here is the general view


and the close-up


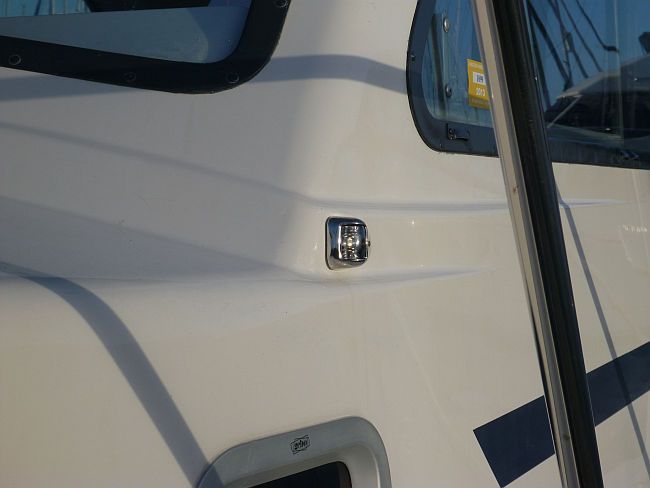
The final job was the remove the old, plastic, rather faded navigation lights and replace with stainless, LED lights. Amazingly, the old holes were just covered by the new units and even the wire holes were in the right place, so they were clamped up ready for wiring in during the next rainy work-day.